Using Respondus to Edit, Print, Save or Publish Canvas Assessments
Respondus can be used to retrieve questions from Canvas assessments—including quizzes, surveys, self-assessments, and the question bank—for editing, printing, saving, and publishing a local copy in various formats.
Once the server settings are configured in Respondus, you can use the main toolbar to edit, print, save, or publish an exam. These options allow you to generate a document version, save the file in different formats, or upload it back to Canvas. Jump to:
If your server settings are already set up, you can proceed directly to instructions for editing, saving, printing, and publishing a quiz. If not, please refer to our tutorial on setting up the Canvas server .
How to Edit
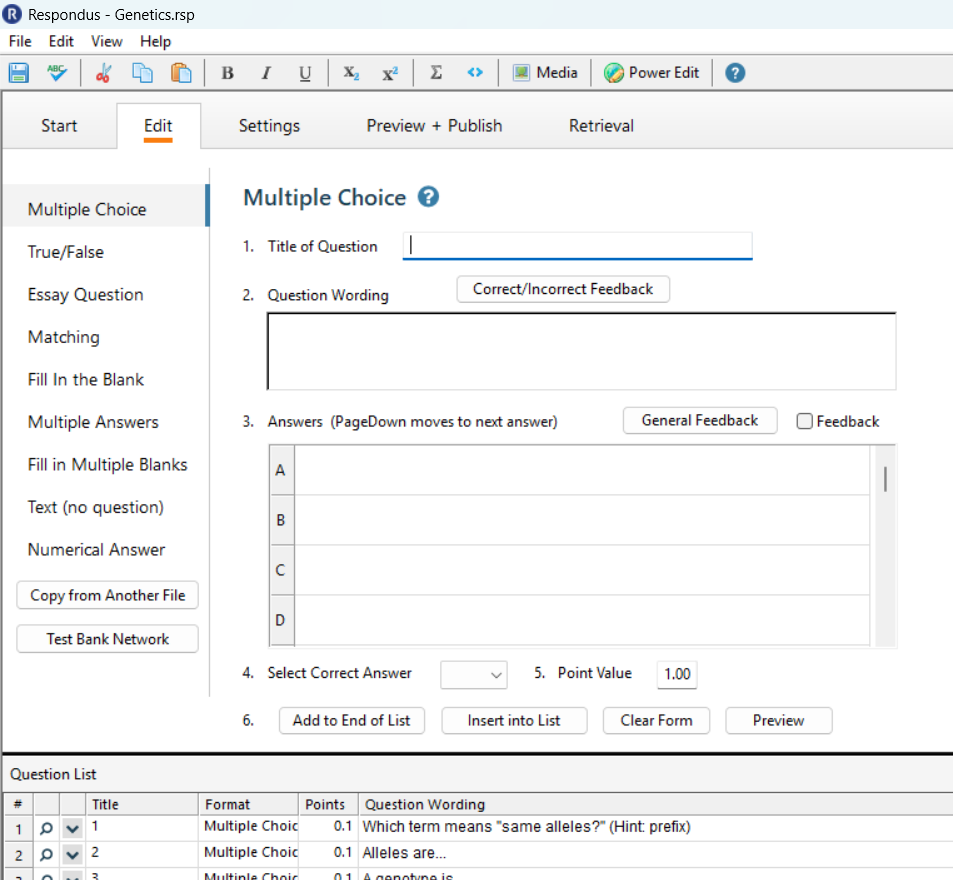
Begin by going to the Start page of Respondus and opening a quiz. From there, users can edit the questions contained in the .rsp file on the local computer by selecting the Edit tab.
How to Print and Save
Selecting the Preview & Publish tab (1) reveals options such as previewing the file and saving/printing the file.
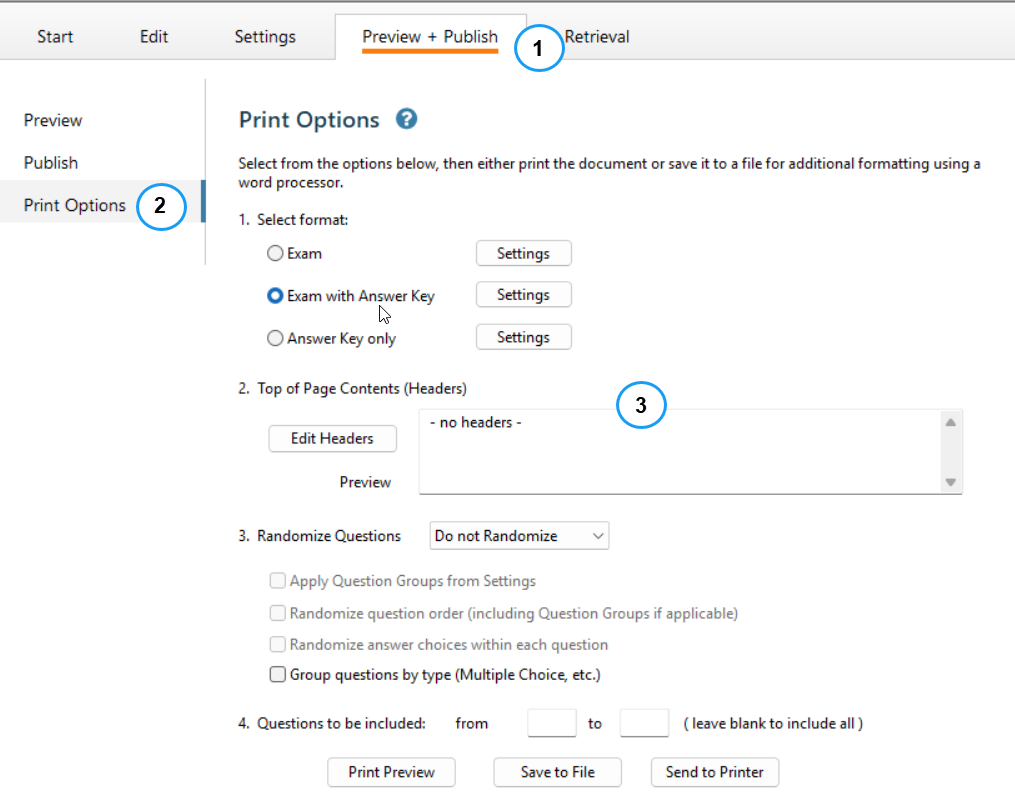
Selecting Print Options (2) from the left nav bar brings the print options page.
From this point the user can format, add headers to the file, elect to randomize as needed, adjust which questions are to be included prior to the user printing and/or saving the file (3).
If you choose Save to File, there are three formats available when saving the file: Microsoft Word .doc file; Rich Text .rtf file; Text .txt file. Users may also elect to print the file directly from Respondus.

How to Publish
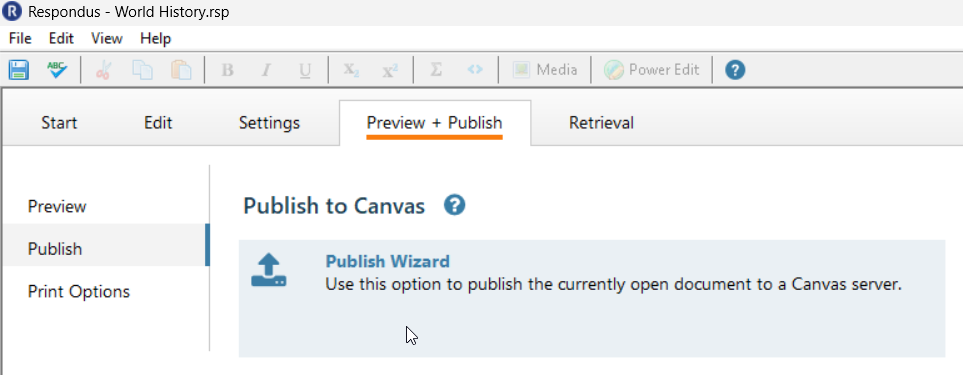
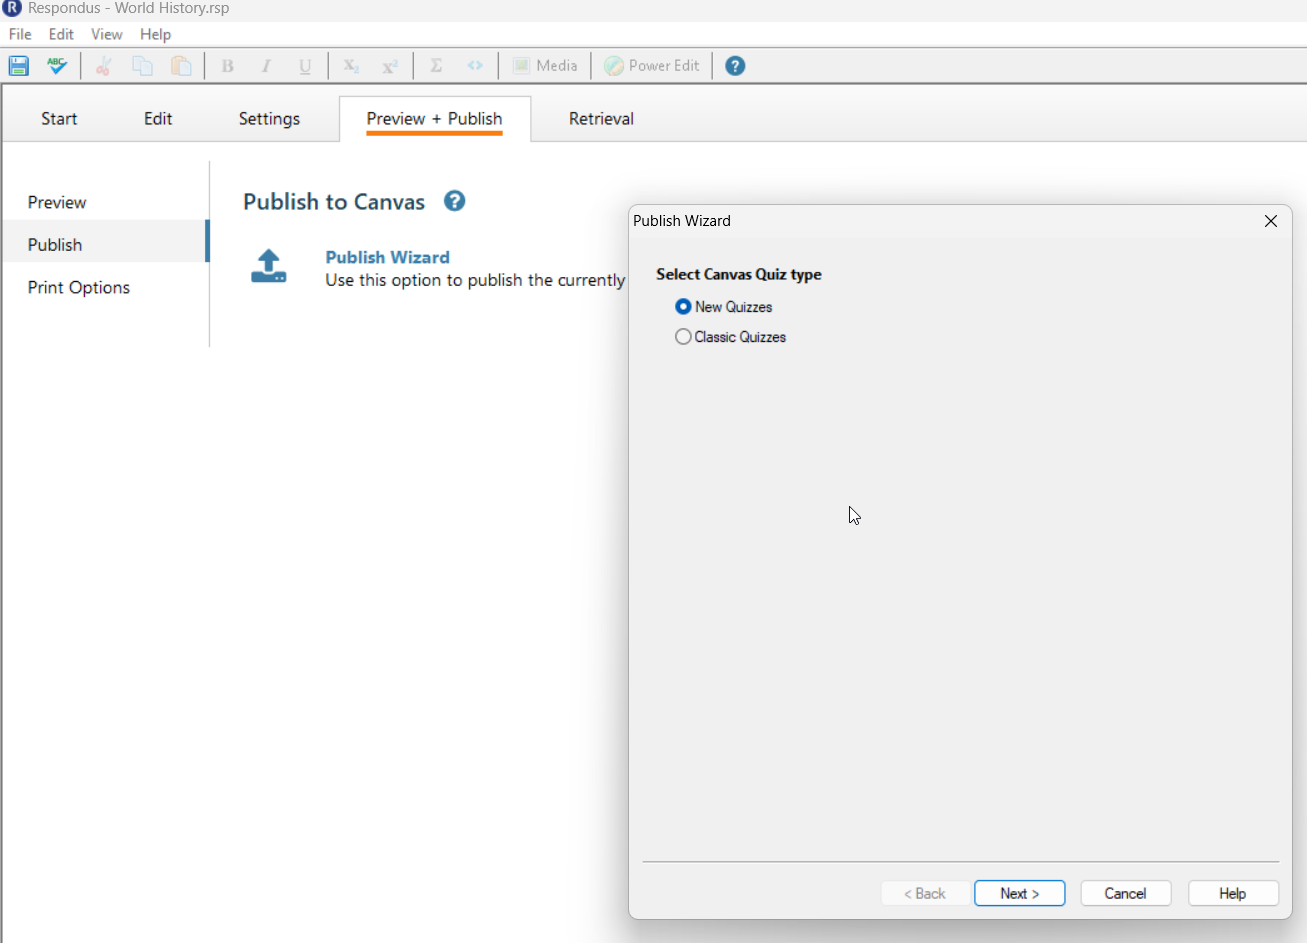
Once your exam is ready in Respondus, you can publish it directly to Canvas. The Publish tool lets you upload the quiz to your course, create a new assessment, or replace an existing one. Start by clicking on the Preview + Publish tab and selecting publish from the left side menu.
Next, choose the New Quizzes as the Canvas quiz type and select Next.
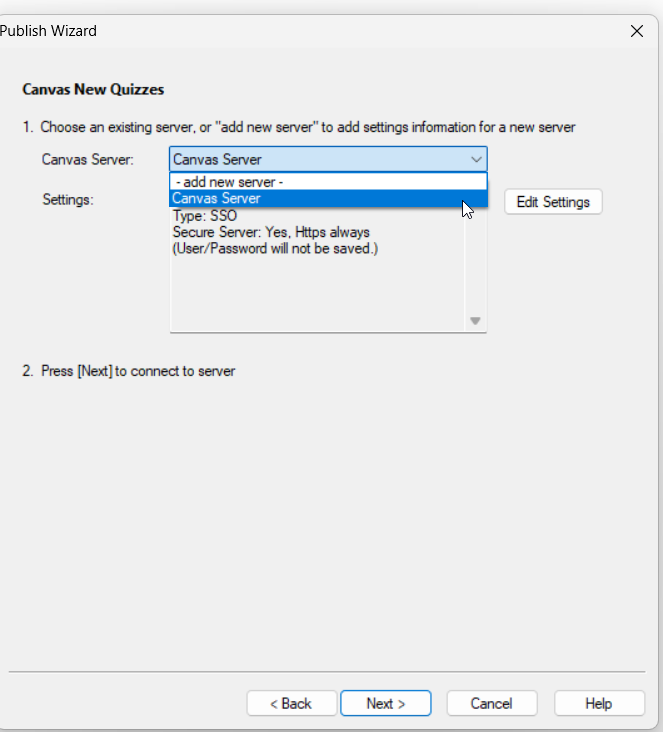
From the dropdown in the window that appears, choose the Canvas server (name may vary depending on user's choice of name) and click Next.
Note: If you have not created this yet, please refer to our tutorial about question retrieval.
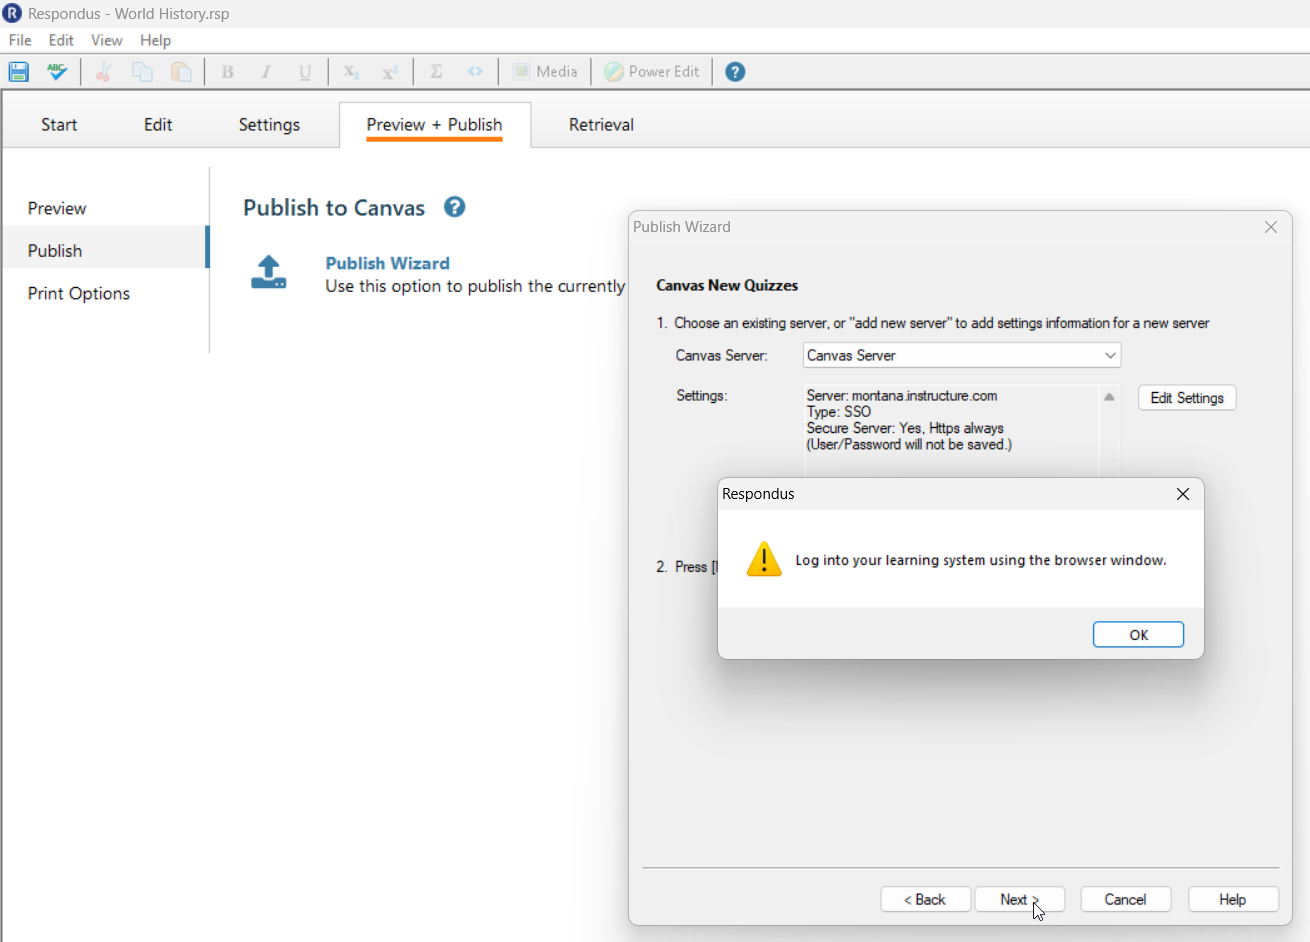
Users will be prompted to open Canvas in a new browser. Users will be prompted to enter their NetID and Passowrd to authenticate their account. Once opened, return to respondus and click OK.
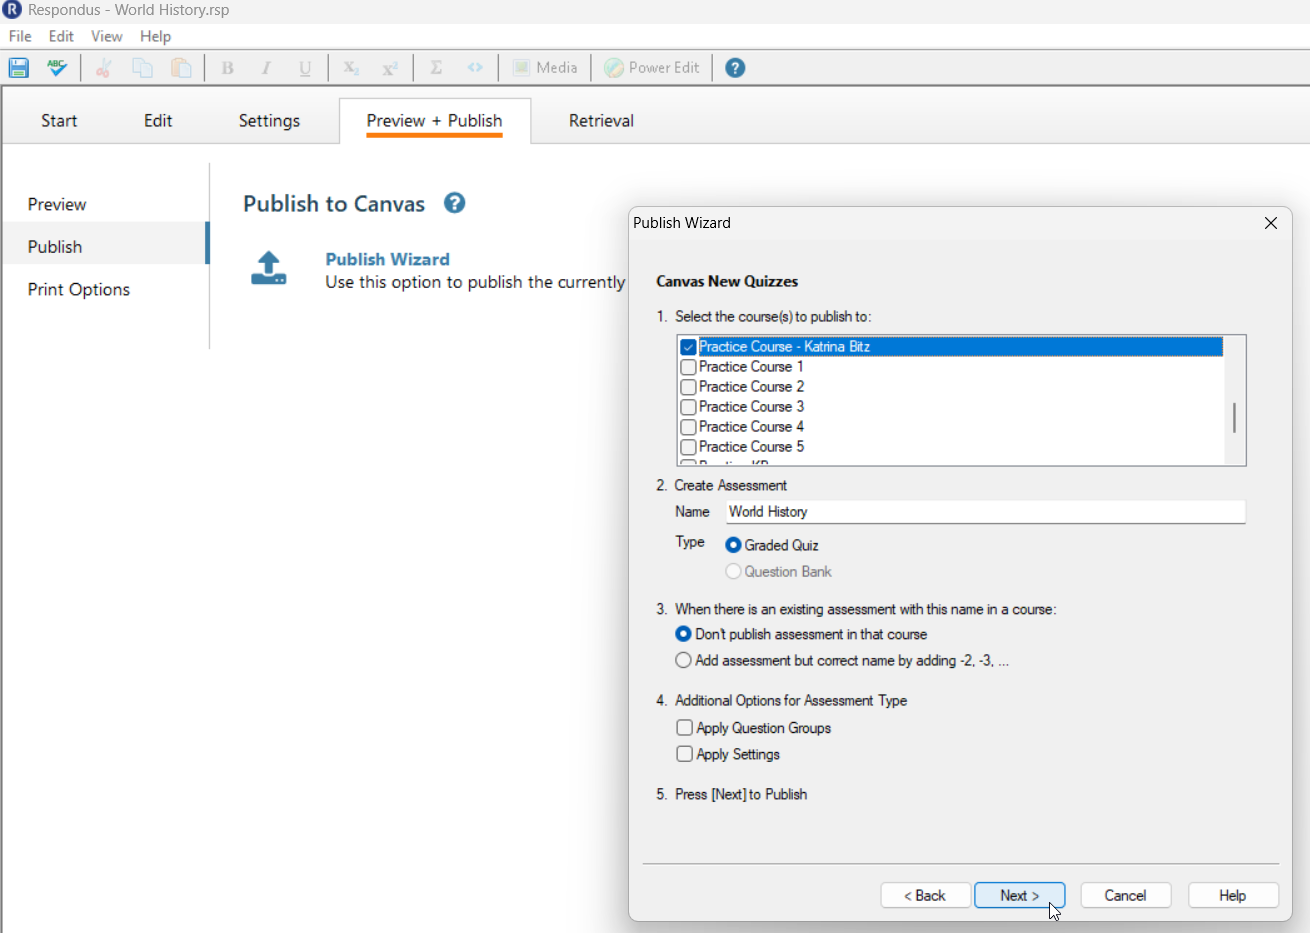
Next, choose the Canvas Course you wish to publish to and any other desired settings. Finally, click Next.
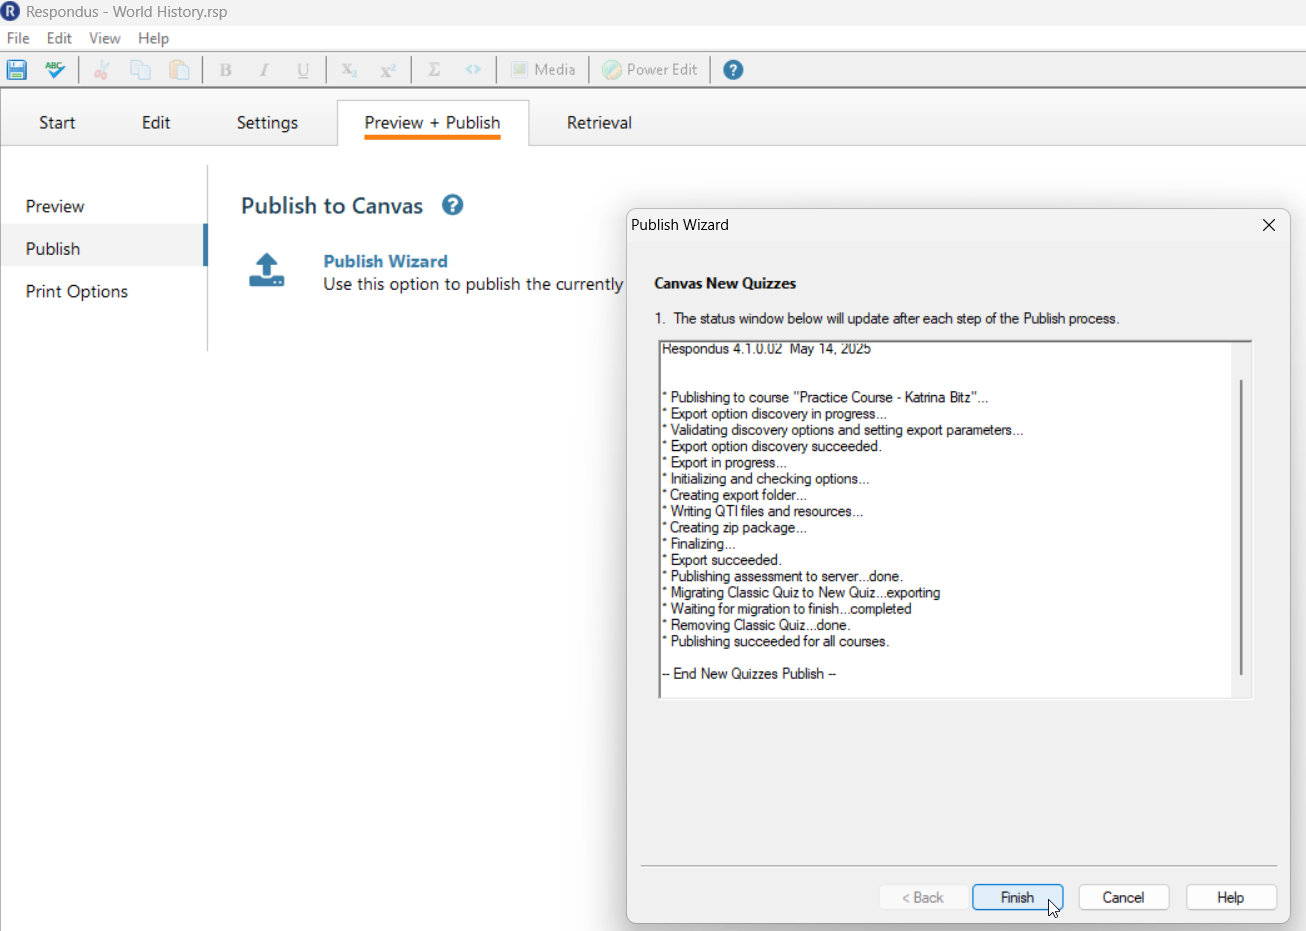
Lastly, you will see a window showing the progress of the publish. Once the publish is completed, the user can select Finish. Navigate to the Canvas course and review the quiz that was published.